Modern cars and trucks are full of computerized modules that need to be adapted after installation. If you’ve replaced a module in your car to help diagnose a problem and its still not working, the module may need to be adapted/programmed/coded to your car.
Modern vehicles rely on sophisticated electronic modules to control essential functions such as ignition, security, fuel injection, and more. When replacing or upgrading these modules, specialized programming and adaptation are required to ensure seamless integration with the vehicle’s systems.
Our automotive module adaptation, programming, and coding services provide expert solutions for a wide range of vehicles.
When a new or used module is installed in a vehicle, it must be programmed and adapted to work correctly with the car’s existing systems. This is necessary because:
When replacing or installing a new or used module in a vehicle, the process requires precision, the right tools, and a thorough understanding of the vehicle’s electronic systems. Below is a detailed step-by-step guide to how we handle automotive module programming and adaptation.
Initial Consultation & Vehicle Assessment
Confirm the vehicle’s make, model, year, and VIN to determine compatibility.
Identify whether the module is brand new (blank) or used (pre-programmed with another vehicle’s data).
Diagnostic Scan & Fault Code Reading
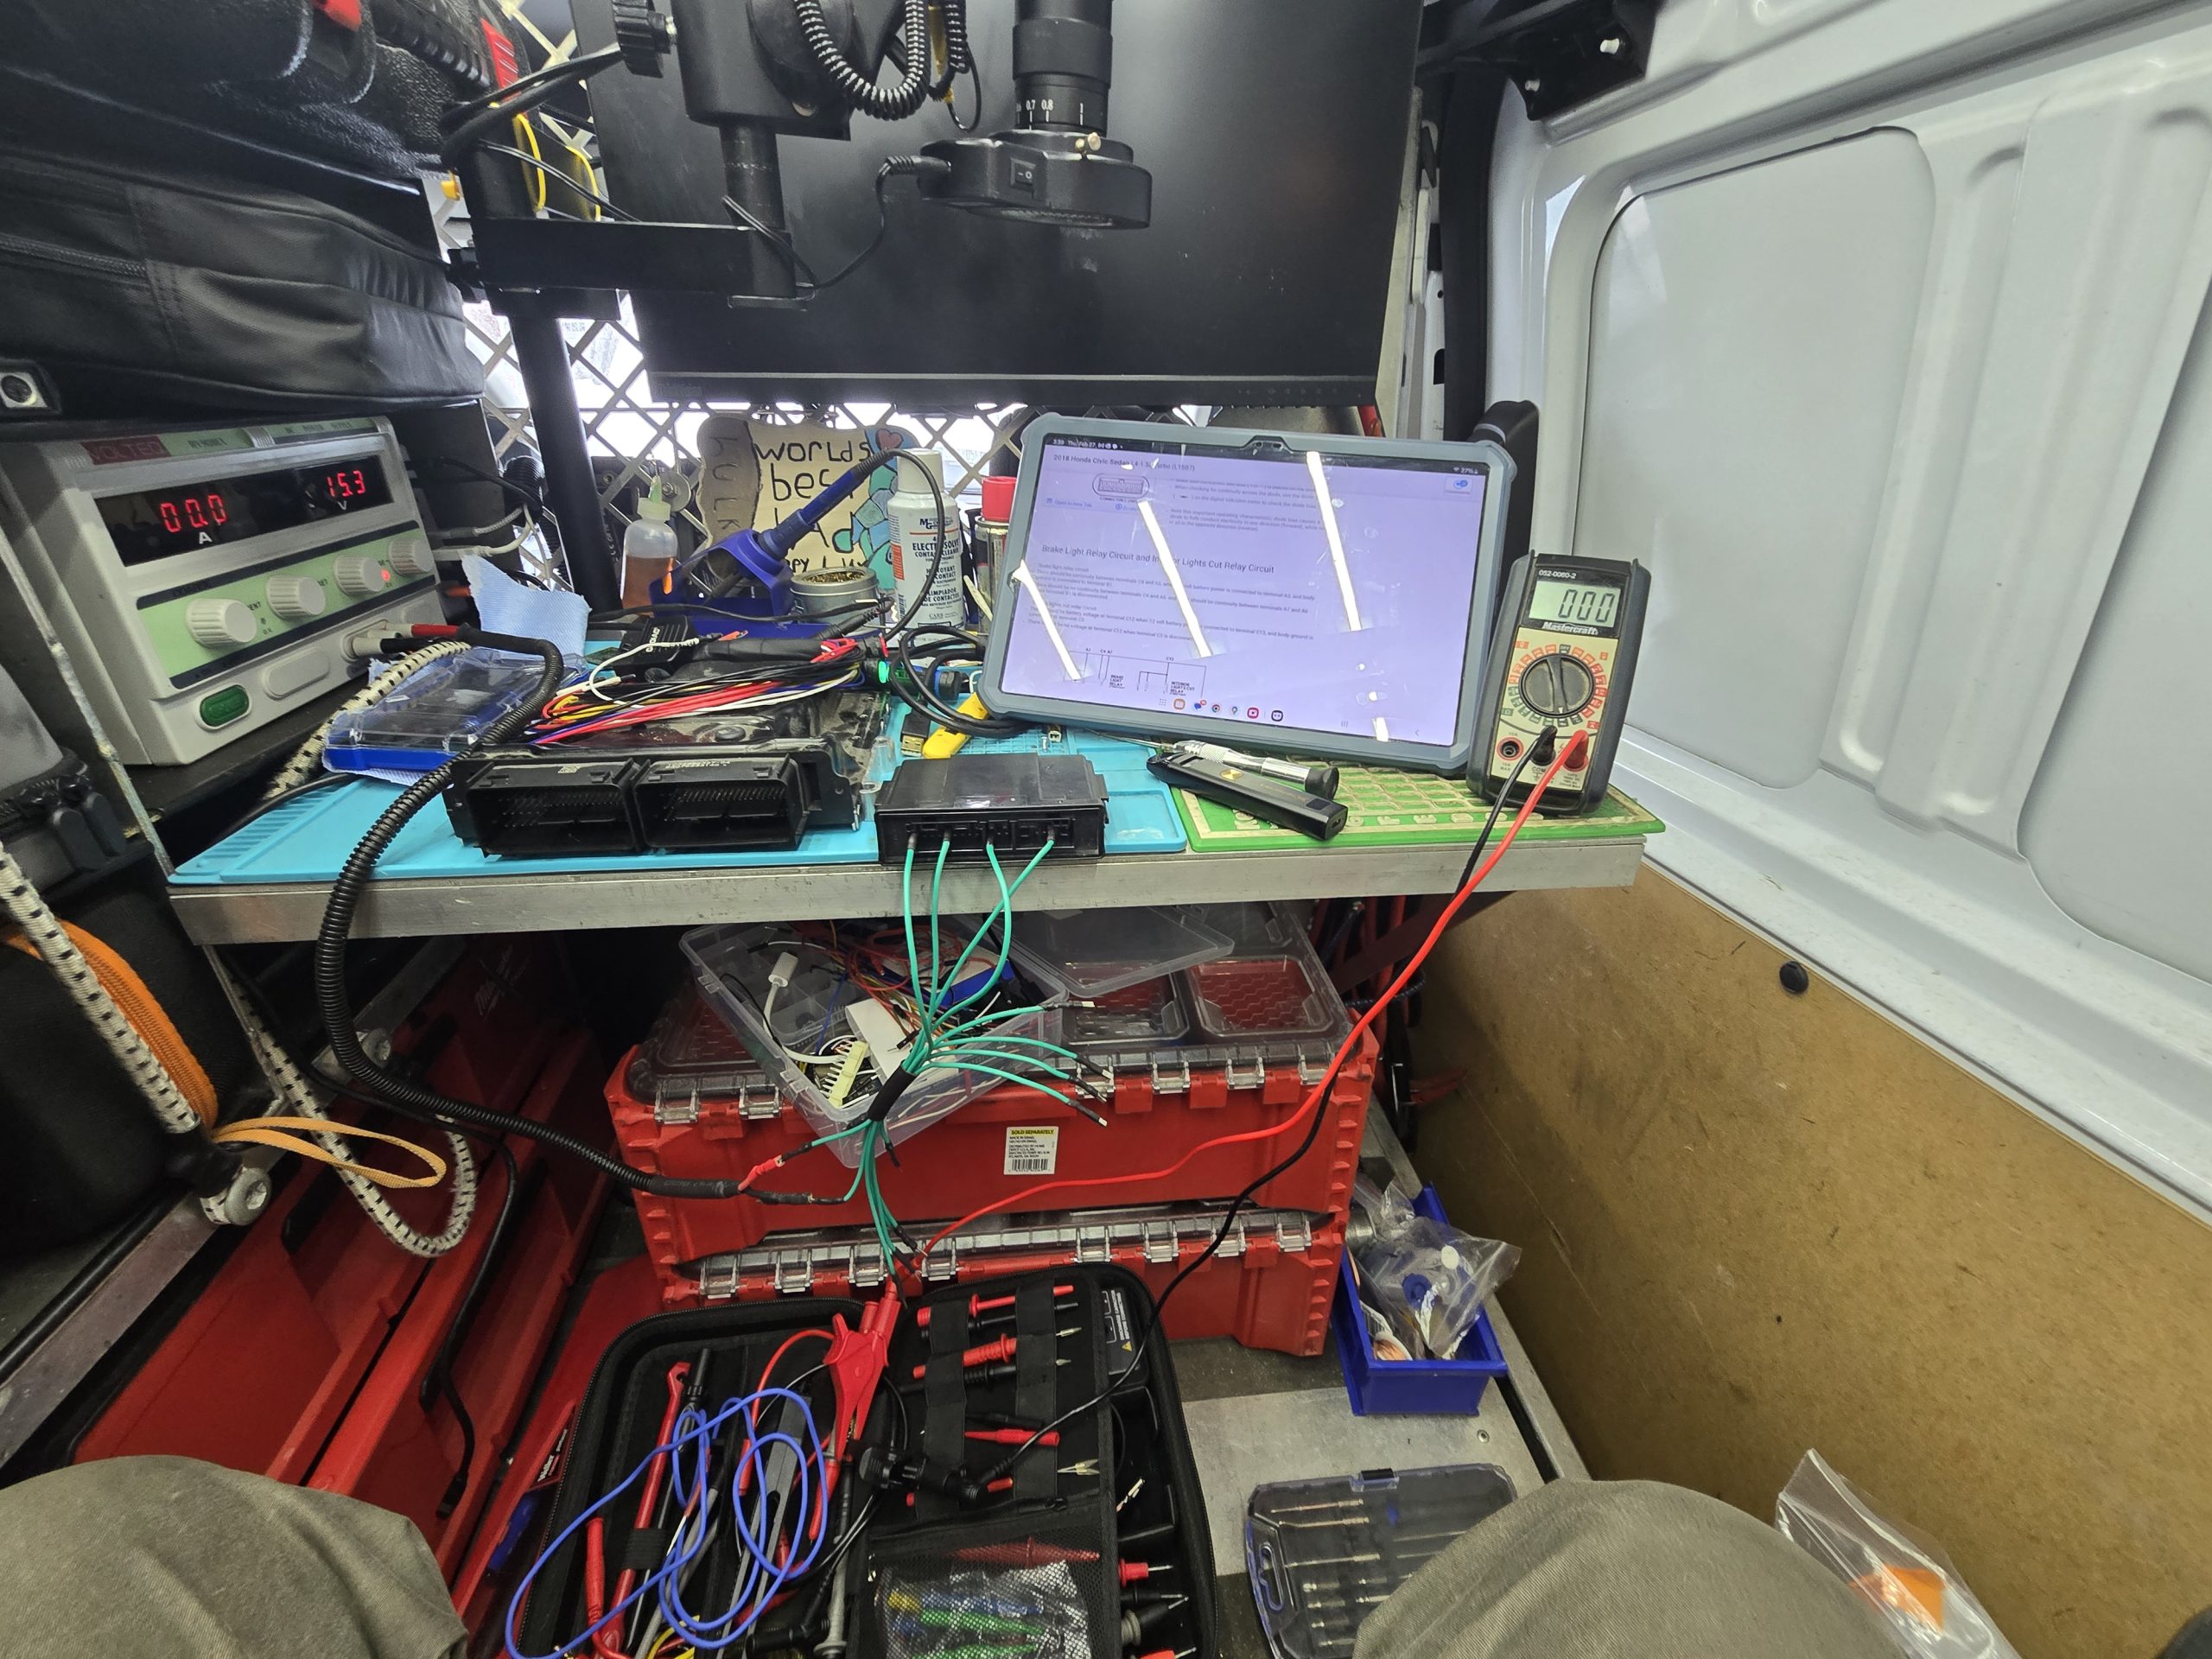
Connect an OEM or professional-grade diagnostic scanner to retrieve fault codes from all control modules.
Identify any pre-existing issues that could affect programming, such as CAN bus communication errors.
Verify Module Compatibility
Cross-check part numbers and software versions to ensure the replacement module is compatible with the vehicle.
If necessary, retrieve the original module’s software data (if accessible) for adaptation.
Physical Installation
Disconnect the battery to prevent voltage spikes that could damage the ECU.
Remove the faulty module and install the replacement module securely in its designated location.
Reconnect the battery and check for any immediate warning lights on the dashboard.
Basic Module Communication Test
Use a diagnostic scanner to check if the vehicle recognizes the new module.
If the module does not communicate, verify power, ground, and CAN bus wiring.
Write the Vehicle Identification Number (VIN) to the Module
If the module is new, it will require the vehicle’s original VIN to be written for proper integration.
If the module is used, the existing VIN must be erased or overwritten to match the vehicle.
Use an OEM-level programming tool or dealer software to perform this step.
Transfer or Configure Vehicle-Specific Parameters
Import settings from the old module (if available) or manually input them based on factory specifications.
Adjust security parameters, transmission ratios, fuel maps, immobilizer settings, and more, depending on the module type.
Immobilizer Matching (IMMO Adaptation)
If the module is part of the vehicle’s security system (e.g., ECU, BCM, or immobilizer), it must be paired with the key and immobilizer system.
Program the immobilizer data into the module using specialized tools like Autel, Launch, or OEM software.
Verify that the vehicle starts and that no security-related faults appear.
Key Reprogramming (If Needed)
In some cases, reprogramming or adapting the existing keys is required to work with the new module.
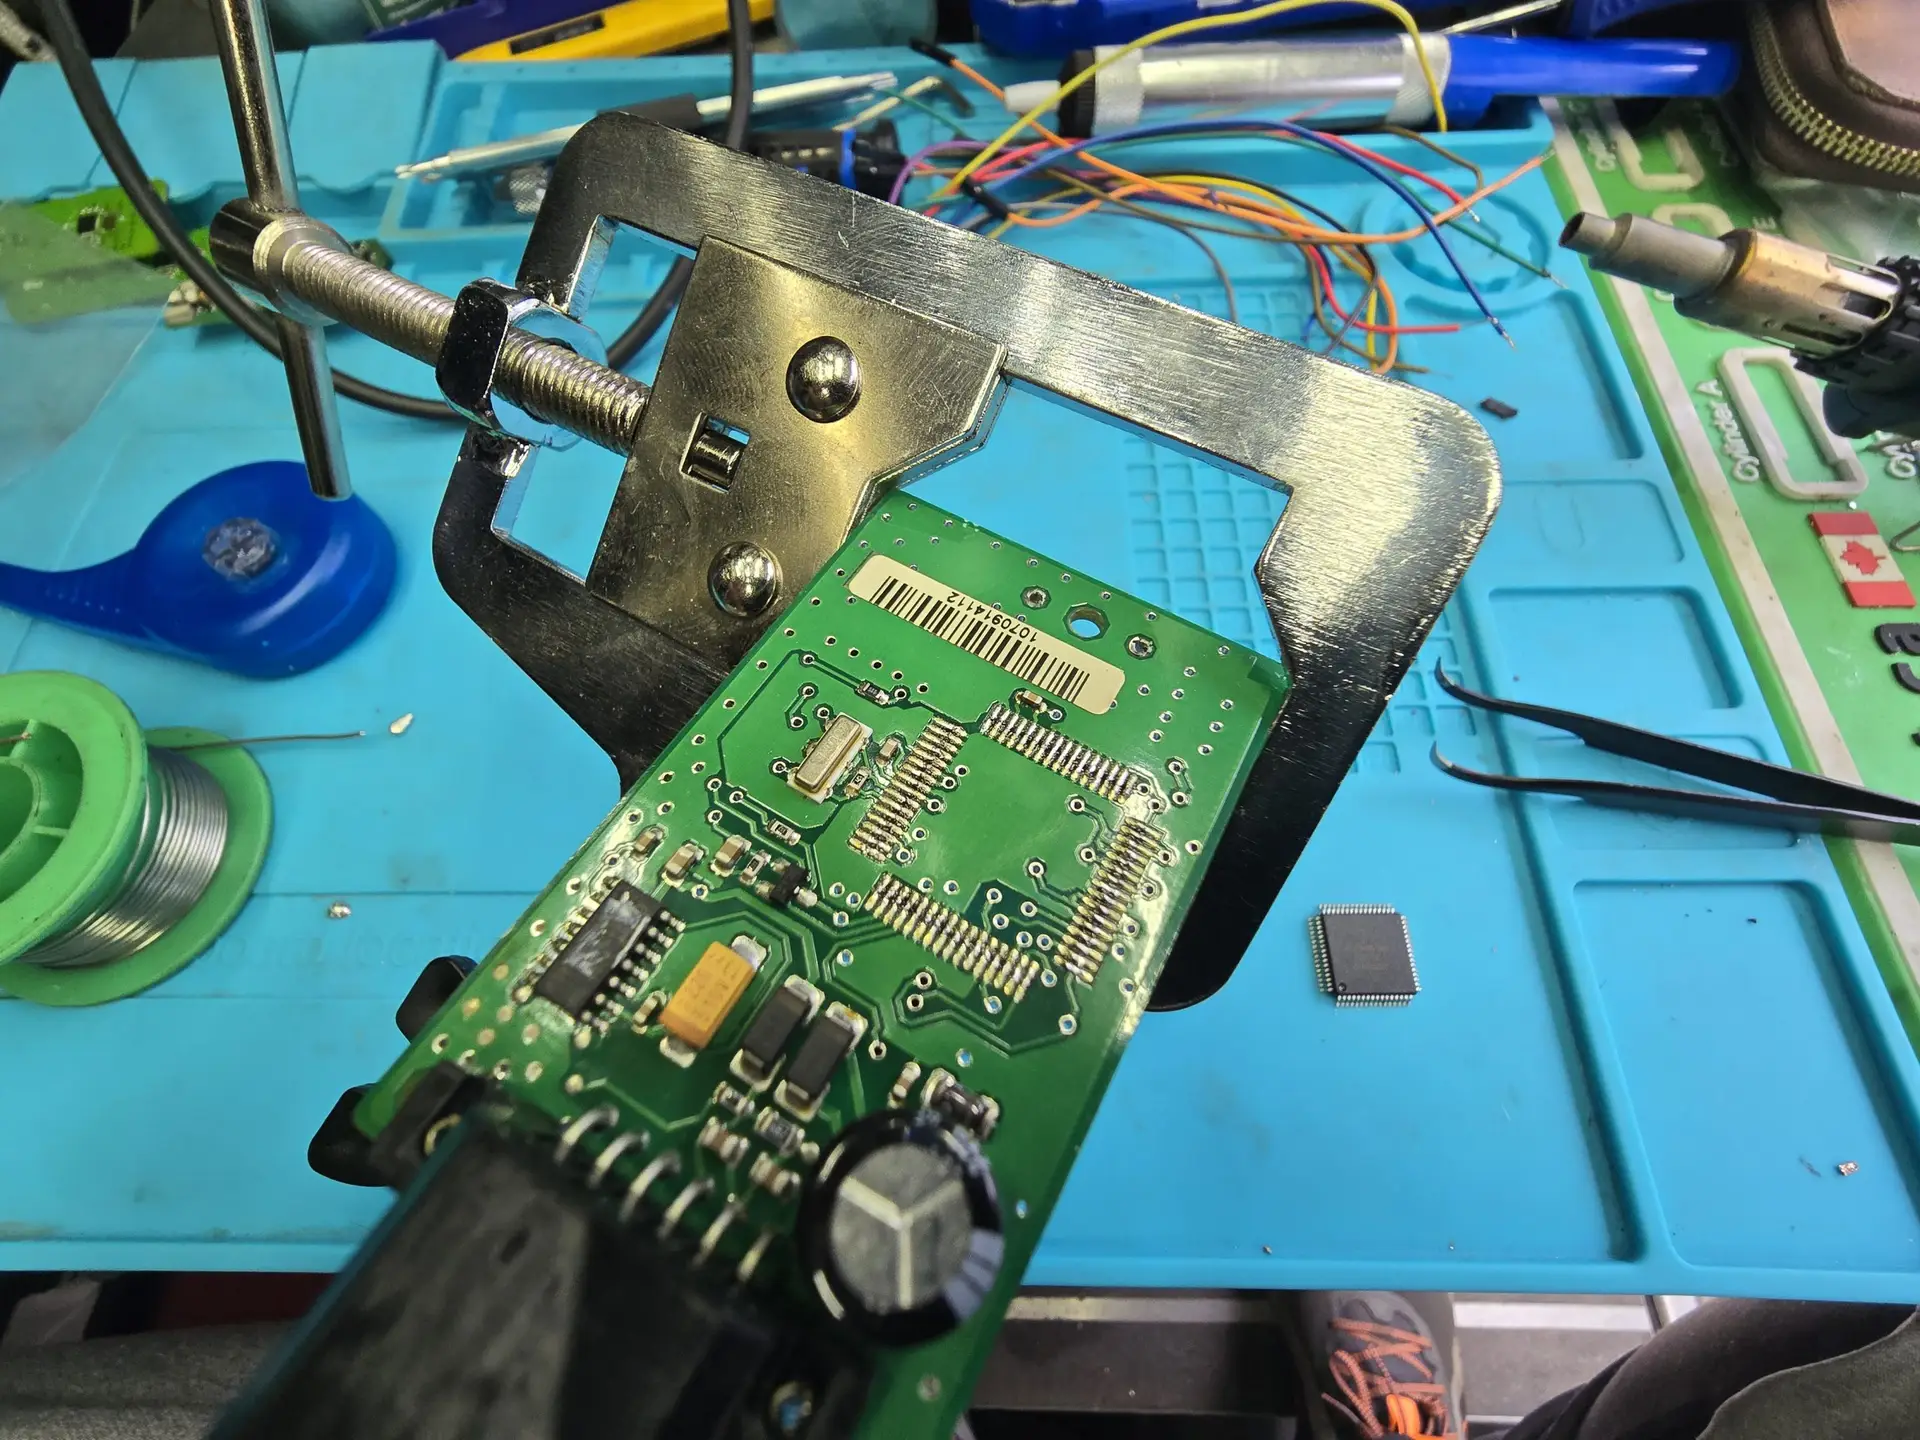
Flash Programming & Software Updates
Some modules require a software update to the latest manufacturer specifications.
Use an OEM-level flashing tool to apply the correct firmware.
Function & Sensor Calibration
Perform required calibrations for modules like ABS, TCM, airbag systems, and throttle bodies.
Ensure all components communicate properly with the new module.
Perform Full System Scan & Verify Functionality
Run another diagnostic scan to check for new or unresolved fault codes.
Ensure the new module functions as expected and that all integrated systems work correctly.
Road Test & Final Checks
Conduct a road test to confirm drivability, shifting (for TCM programming), and overall system performance.
Check the instrument cluster for any warning lights or anomalies.
Provide Customer with a Report
Offer a detailed report of the work performed, including software versions, adaptation steps, and any future recommendations.
Successfully programming a new or used module requires careful diagnostics, precision software adaptation, and expert knowledge of vehicle electronics. If you need professional module programming, coding, or adaptation, contact us today for expert service.
1-888-857-1430